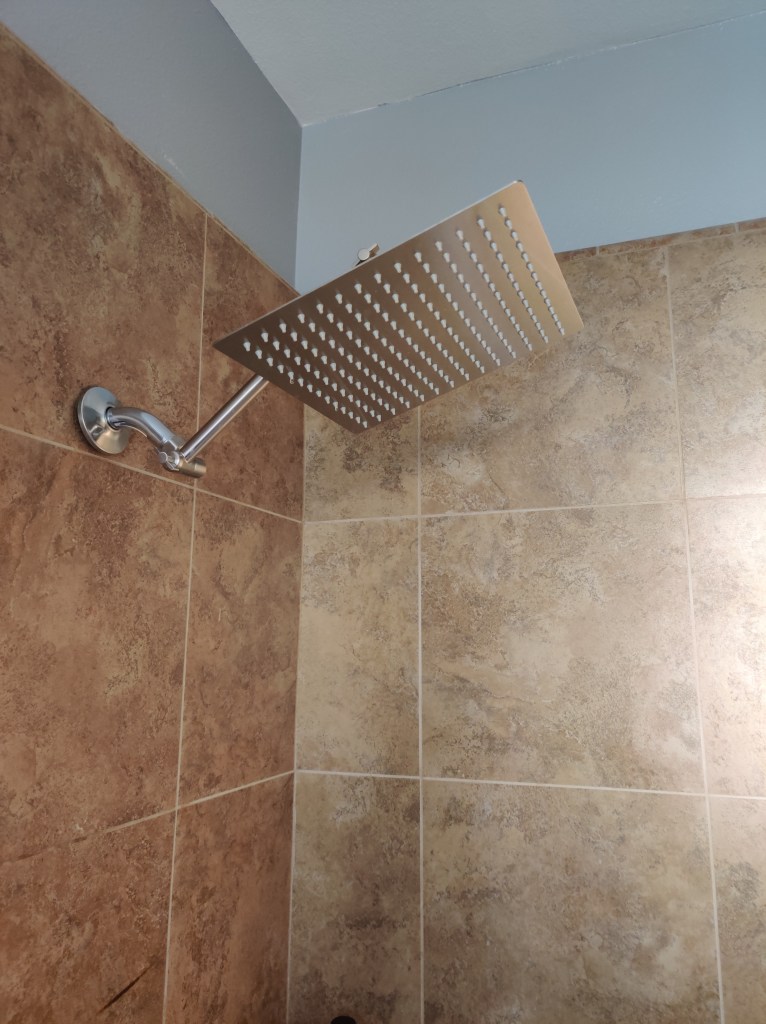
So we decided (aka had to) update the showerhead in our master shower recently. The current one was a handheld showerhead that developed a crack and needed replacing. We decided to go with a rainfall showerhead. Normally, this would be an easy fix and not really worthy of a blog post, but remember how I said “it’s not supposed to be this bad!“? Welp. It took a little longer this time too.
Everything got started easily enough. Bought a rainfall showerhead from Home Depot, which was shipped to our house. We decided to not go too crazy since we didn’t really want a complicated project, in case we decide to remodel our bathroom in the future (and we really really want to…our shower is tiny, even for this 5’3″ woman). Got the showerhead, triple checked installation instructions and watched a whole bunch of YouTube videos. Simple enough – we didn’t even have to open a wall or anything. So we thought…until..
J (the hubs) was trying to adjust/attach the rainfall showerhead to the adjustable head part. Used an adjustable wrench..was fine..until the wrench got stuck because J tightened it too much! That’s when we discovered that our adjustable wrench didn’t have the screw that we could unscrew to loosen the wrench teeth. Well..lesson learned there. So..WD-40 was the next solution…should ease it enough for us to turn the teeth, right? Maybe some slight banging with a screwdriver and hammer..? Nope.
In came the power of Google and the suggestion of using pliers. Pliers clamped on the teeth and voila! The teeth on the adjustable wrench turned. Whew! It only took us an extra hour or two for a 30 minute or less project…..Remember our rule of “triple the estimate of however long you think the project will take”? It was true again.
Silver lining – we now have a working showerhead, no additional tools stuck to it, and we’re happy with it!